'93 Honda Prelude JDM H22 Swap |
|||||||||||||||||||||||||||||||||||||||
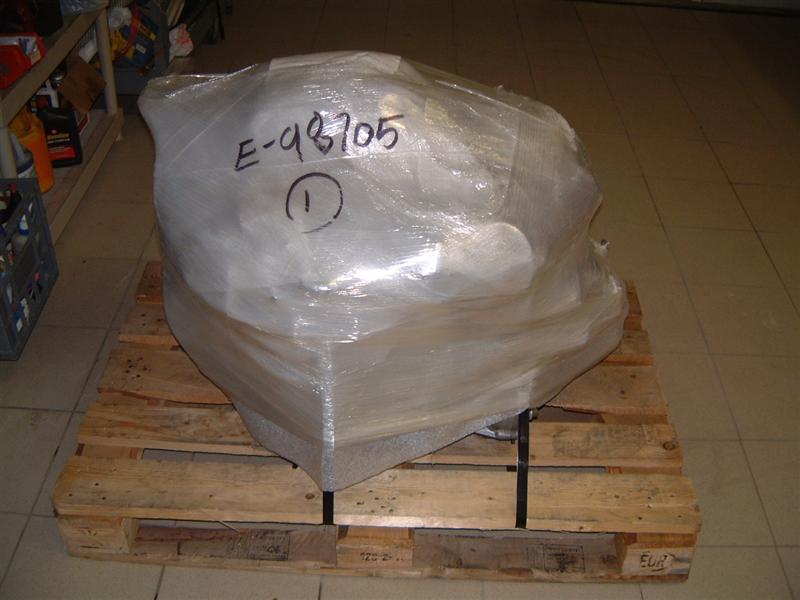
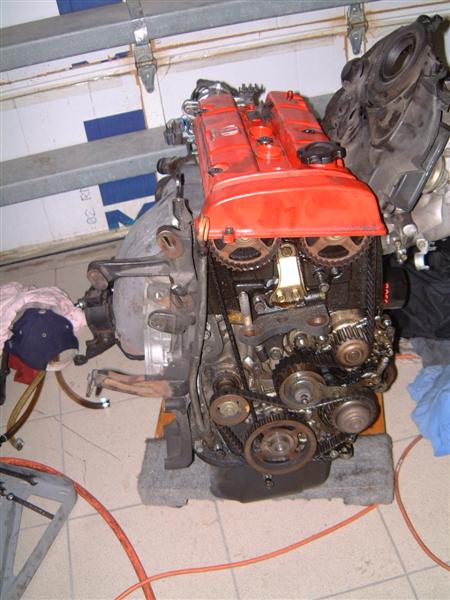
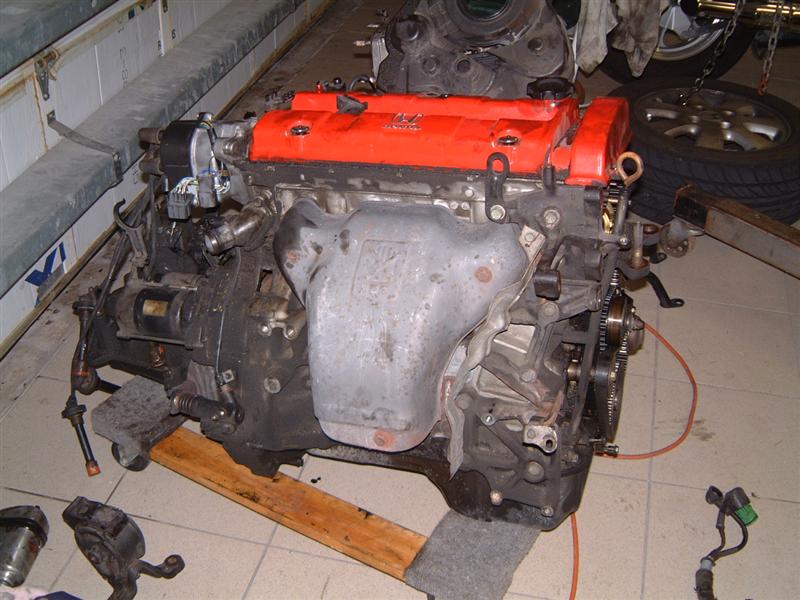
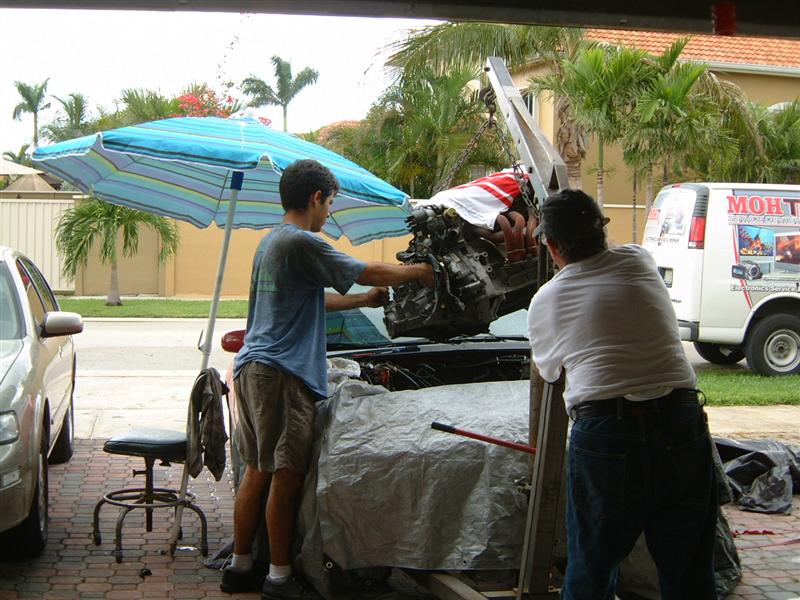
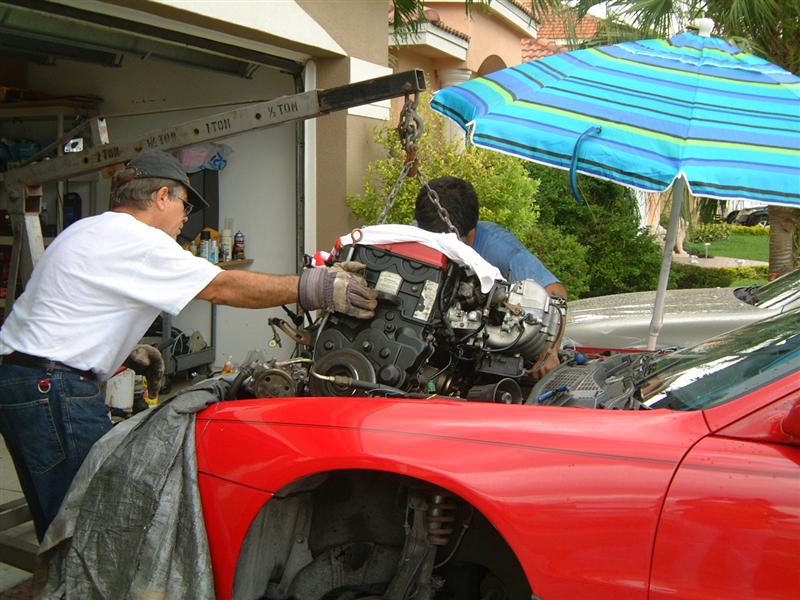
This is a somewhat complete photo diary of my JDM H22 swap. I took as many photos as I could (or remembered to) as fiddling with a camera while wrist deep in grease wasn't too time efficient. I did the swap almost a year ago and now is when I've had time to post up my pictures. This is by no means a guide on how to perform this swap as many details and pictures are missing. This is how the engine arrived from Honda Motors Online. It was secured pretty well, but apparently had been bumped around a bit as the pulley on the power steering pump was cracked and the crank pulley had a little chip that I'm sure would not affect its function (I replaced it with my H23's crank pulley since the H22 pulley has 1 more rib than the H23 alternator and A/C Compressor). The motor was relatively clean on the outside, not so much on the semi closed off areas (timing belt area and bell housing were full of dirt and crud).
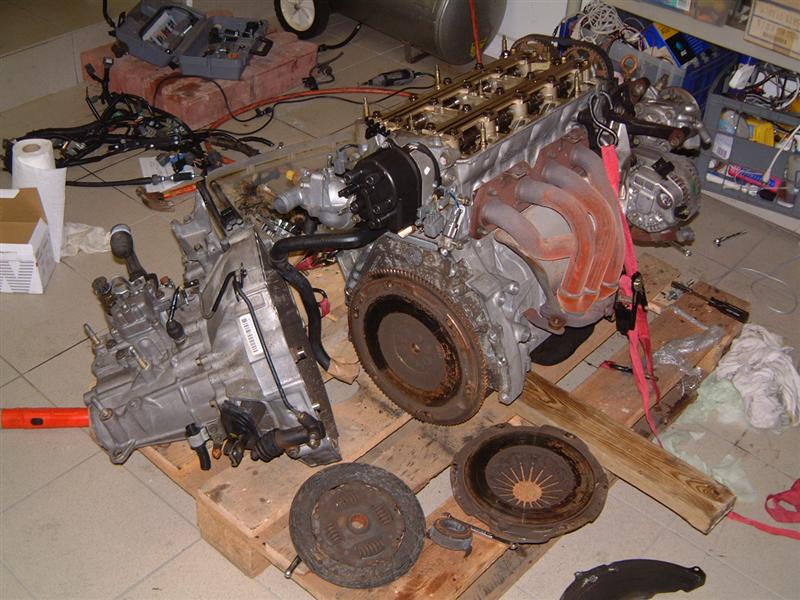
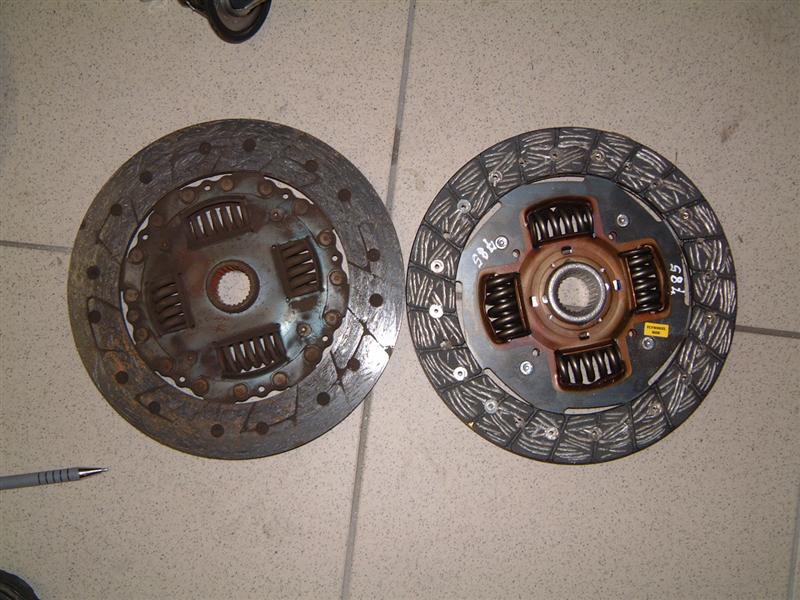
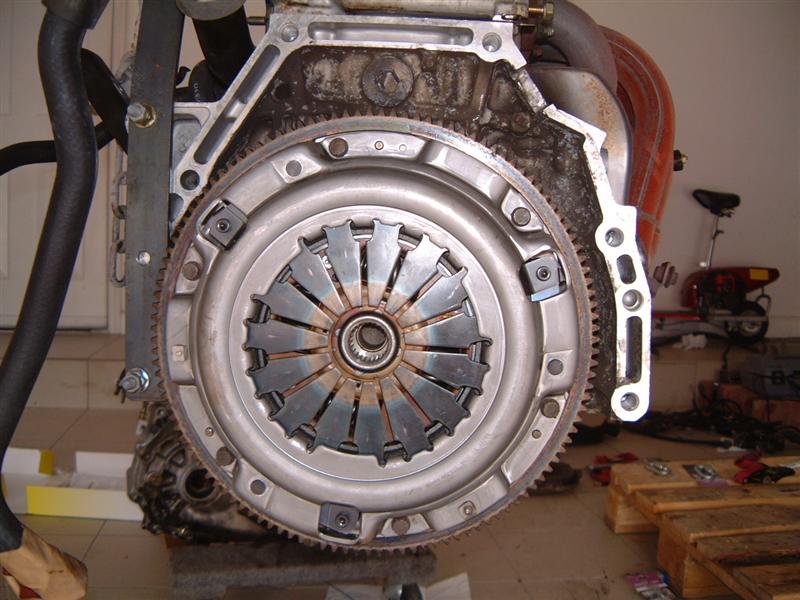
These shots show when I removed the transmission from the engine. I have also provided a side by side comparison of the old and new clutches.
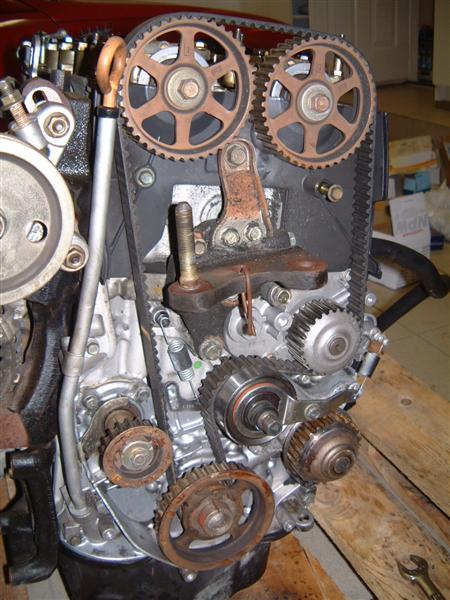
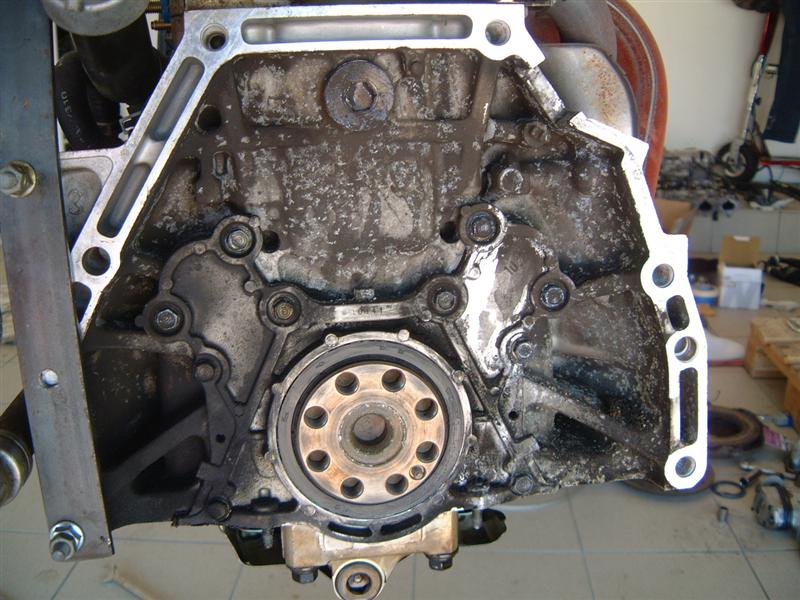
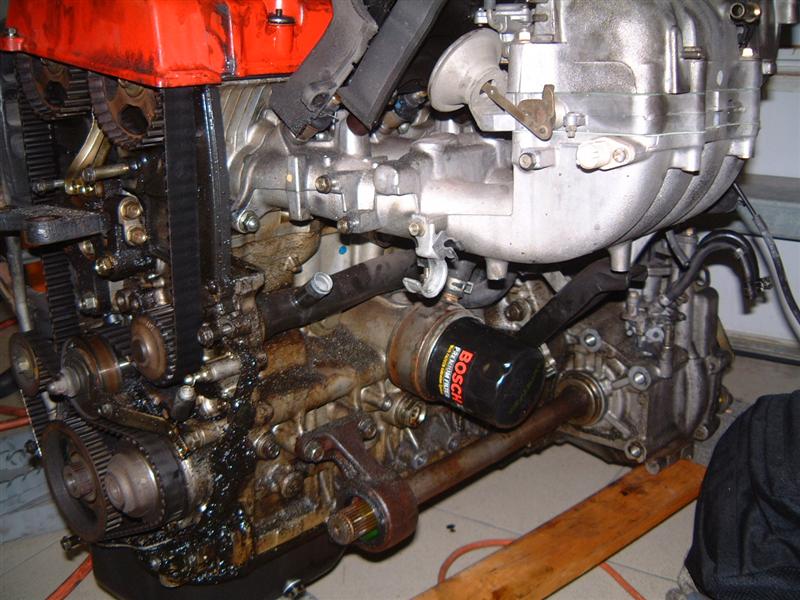
Here is a shot of the timing belt side of the engine (with all the plastic covers removed, obviously). The timing belt auto-tensioner tends to fail on H22's thus creating potential for a catastrophic timing belt failure. The best way to solve this problem is to do a manual tensioner swap from an H23. ImportRP.com sells a manual tensioner conversion kit. I also kept the balancer belt off. Supposedly 1 - 2whp can be gained by leaving it off. I haven't noticed any increase in vibration over the H23.
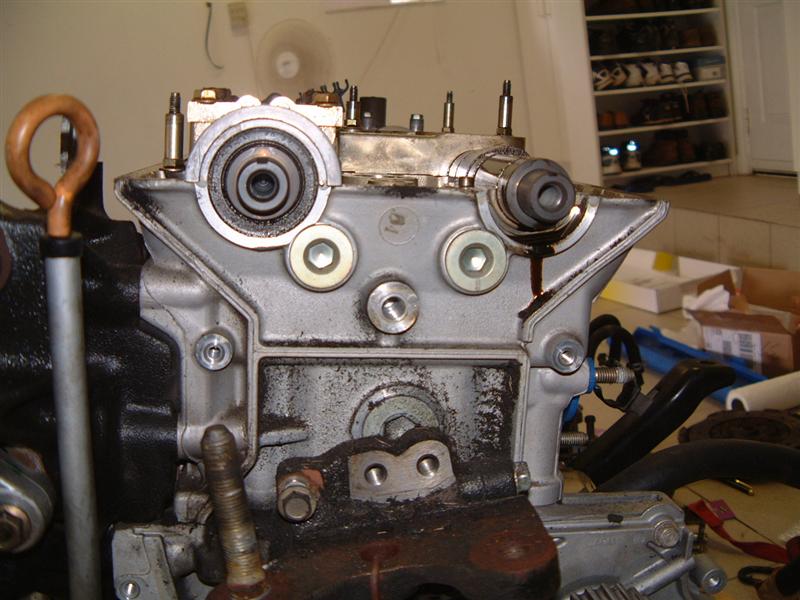
Its a good idea to replace as many seals as possible with the engine out of the car. Pictured here are the cam seals. The last picture is of the cam cap which tends to fail as well. Note the liberal application of liquid gasket.
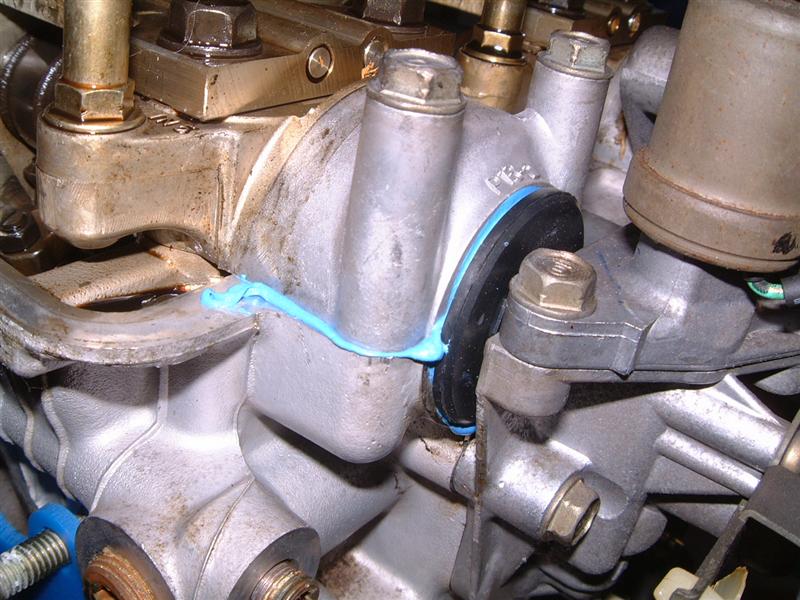
Intake manifold insulator. Installing it is very time consuming with the engine in the car as the intake manifold needs to be removed. However, with the engine out of the car, installation is a breeze. This insulator decreases heat soak into the intake manifold thus allowing for slightly cooler intake air temperatures.
Another seal replacement. This is the rear main seal. The only way to replace this is to remove the tranny, clutch, and flywheel. Its a good idea to check up on it whenever the clutch is replaced. It seemed fine, but I went ahead and changed it anyways.
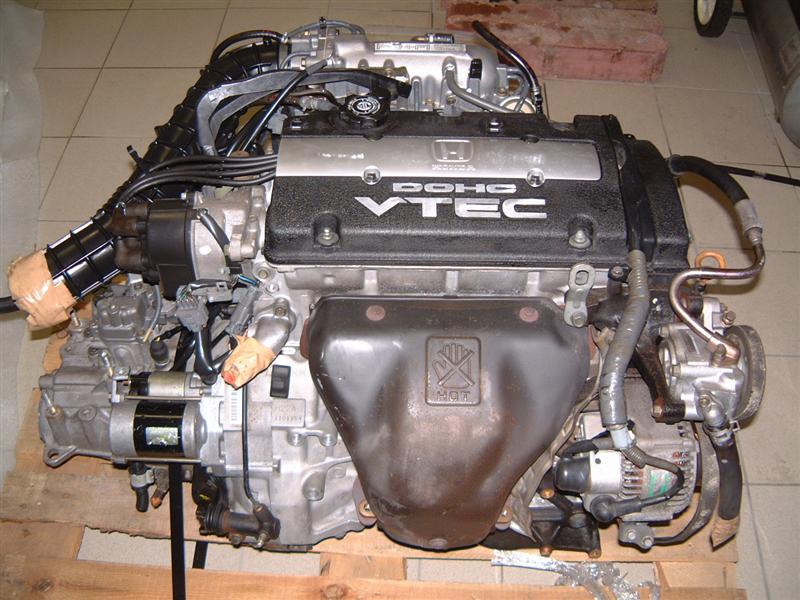
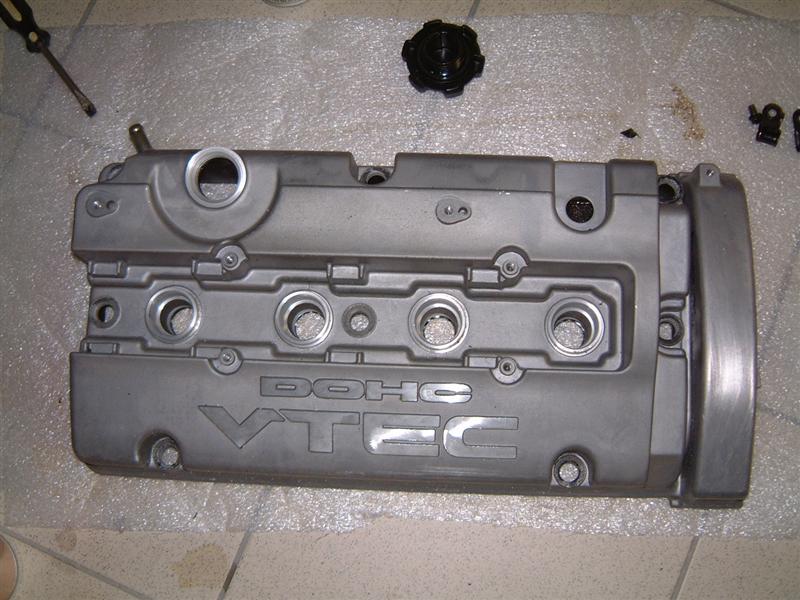
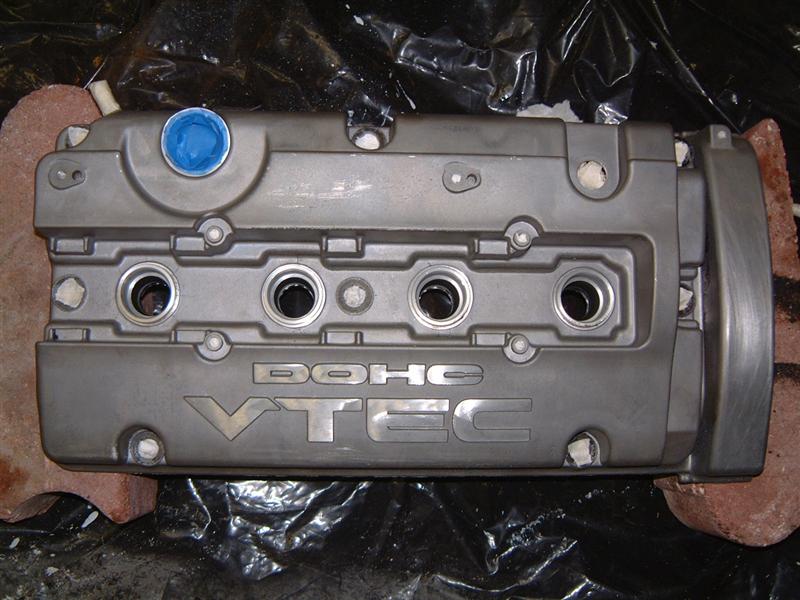
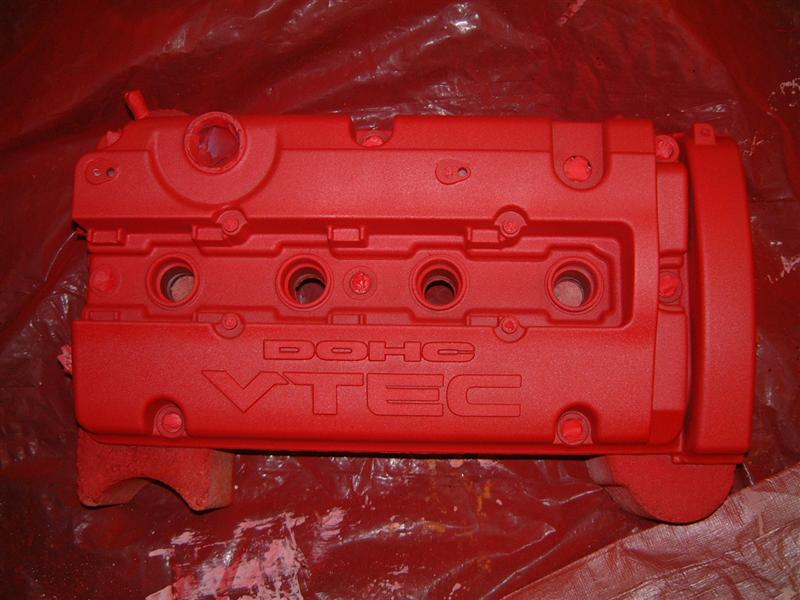
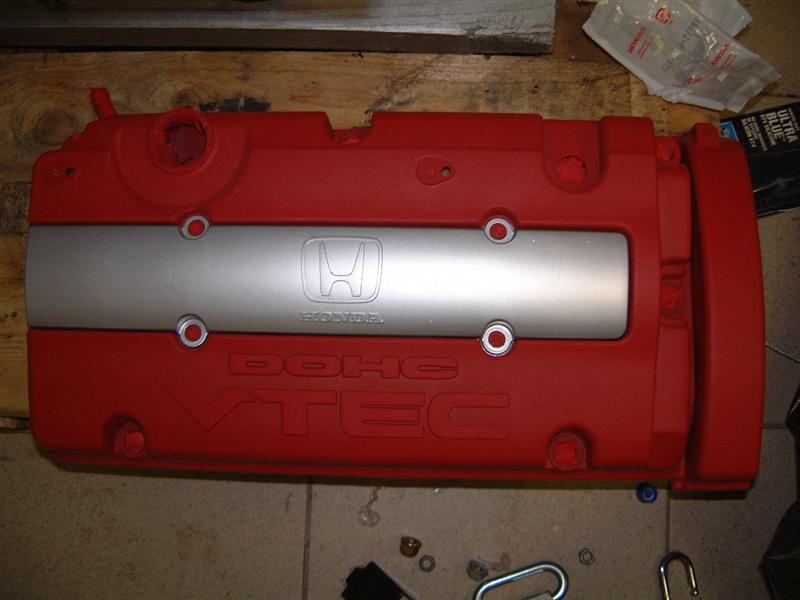
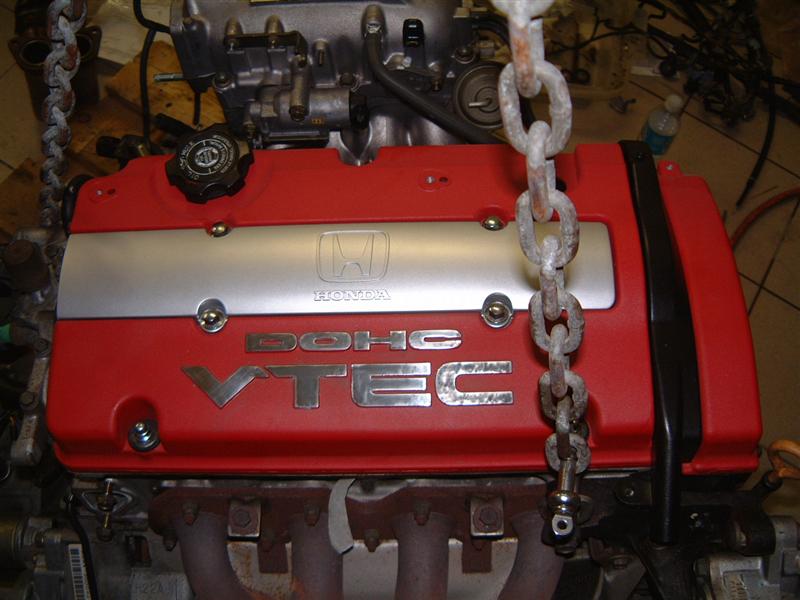
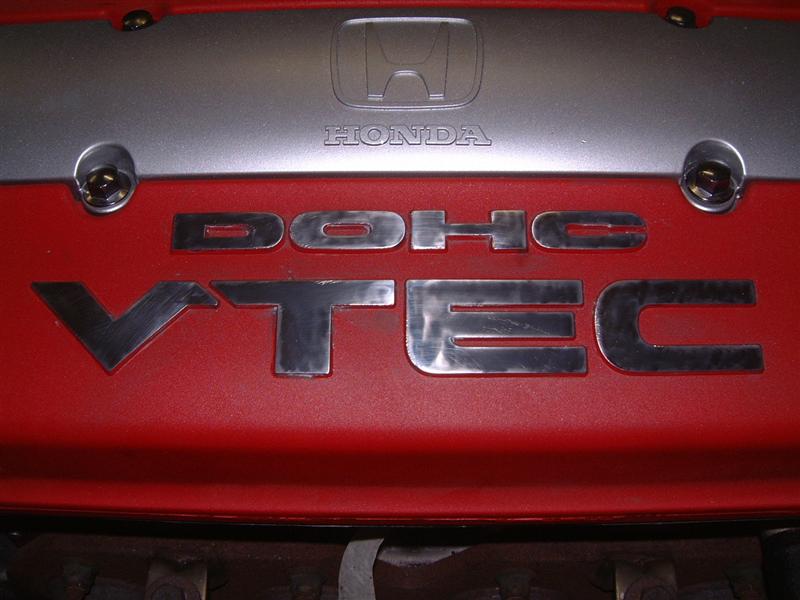
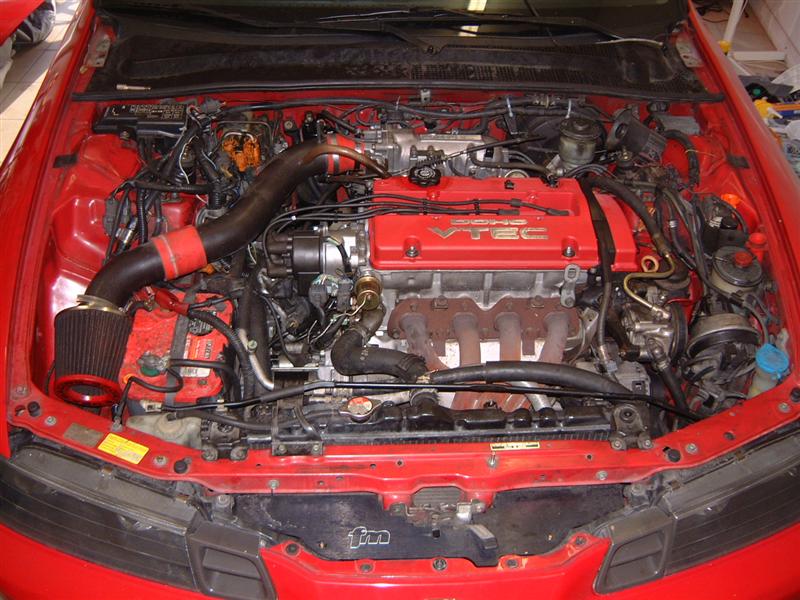
The powder coating on the valve cover was in good shape, but I wanted it in red, so I stripped the powdercoating off with aircraft remover and repainted it with several coats of ceramic based high temp spray paint and clear coat. I also painted the spark plug cover. I polished the 'Honda' and 'VTEC' with a Dremel, so thats why it looks kinda crappy up close.
This is the old H23. It worked fine (had over 170k on it), but it leaked oil like a sieve, as you can tell from the pictures. Removing it was pretty easy and straight forward.
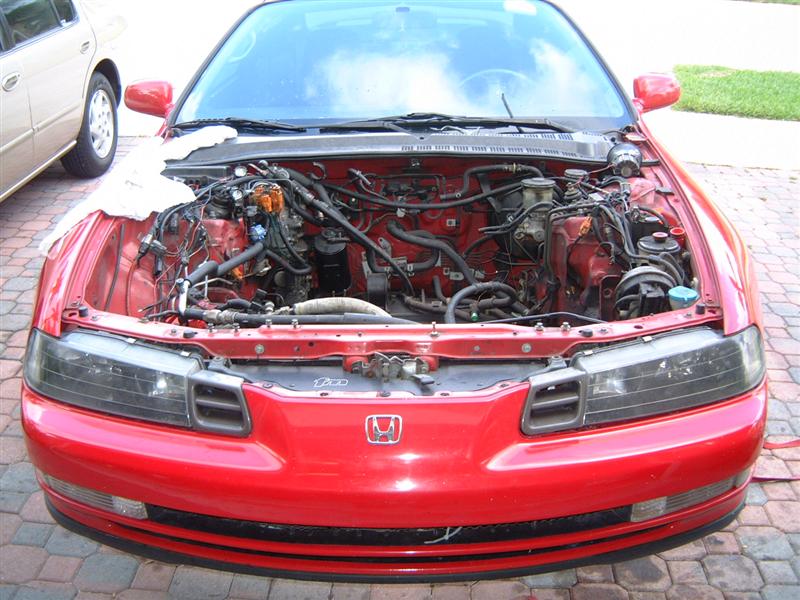
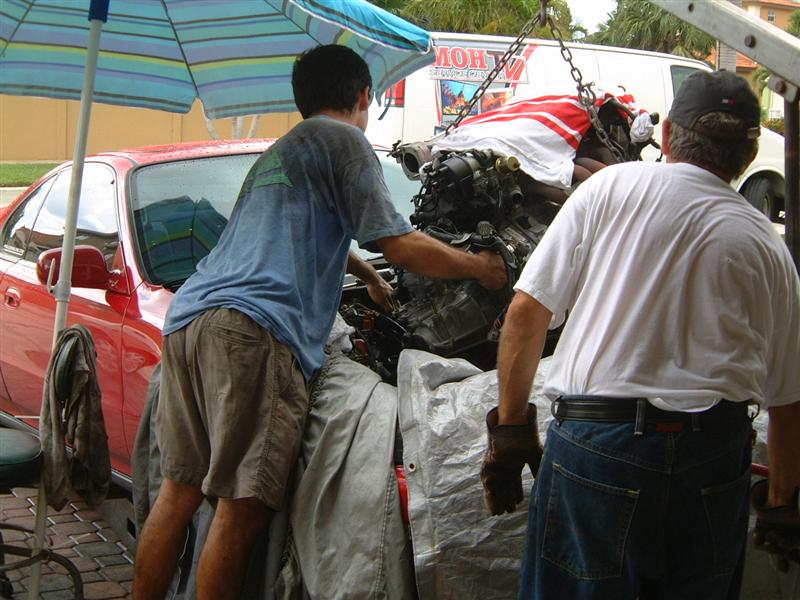
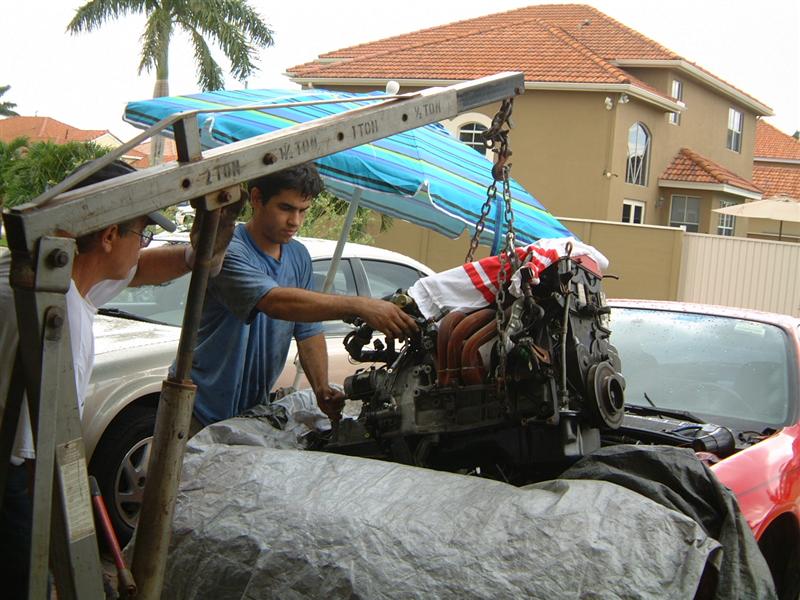
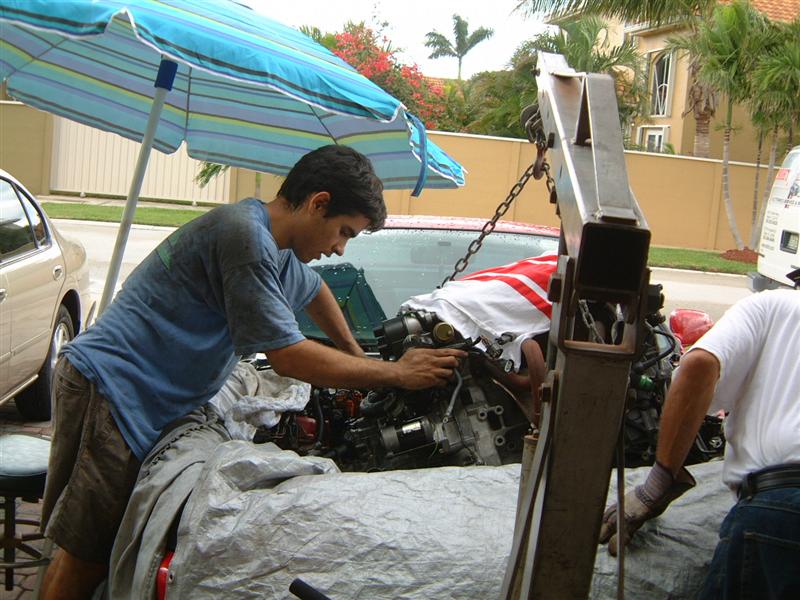
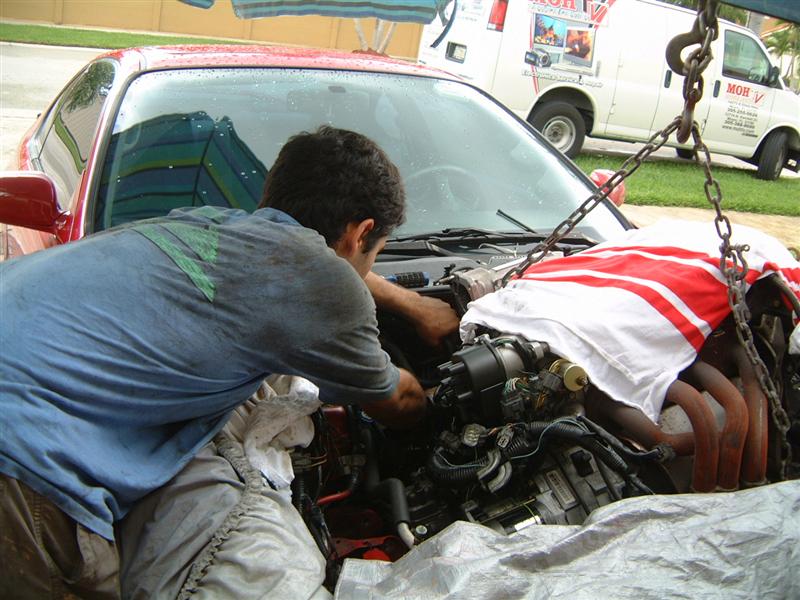
The following pictures show the installation of the H22. When dropping it in, it is best to leave the chains on the tranny side slightly longer so it angles down more in order for the tranny to clear the frame.
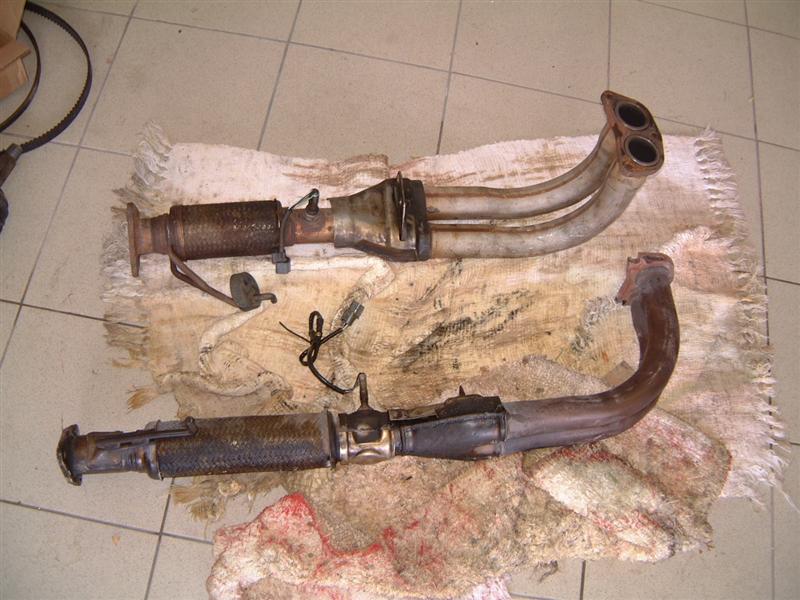
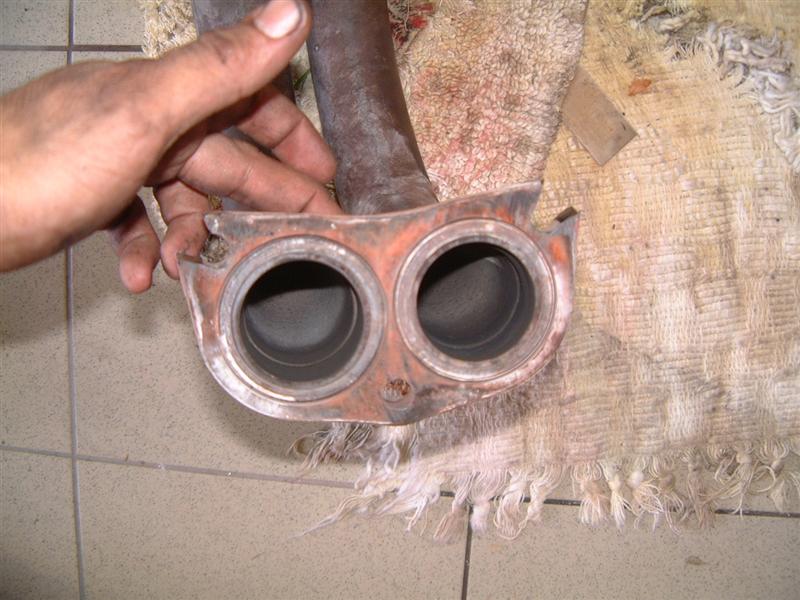
Just when I thought everything was going great, I noticed that I was apparently sent a 5th gen downpipe, which was about 5 inches too short. I was able to get the H23 downpipe on (temporarily, until I went to a muffler shop and had the catalytic converter extended) by cutting out the bolt holes. It was leaking pretty bad, but it held up fine for a bit.
Pretty much done with the install.
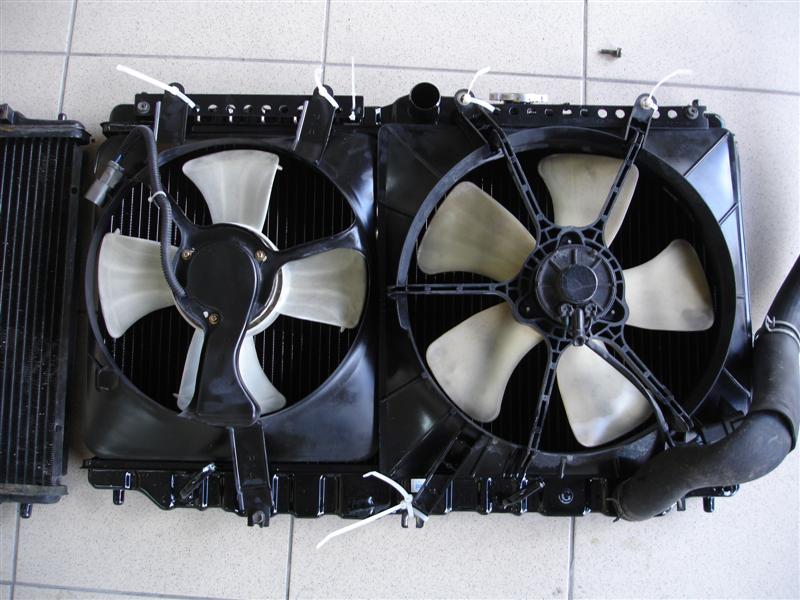
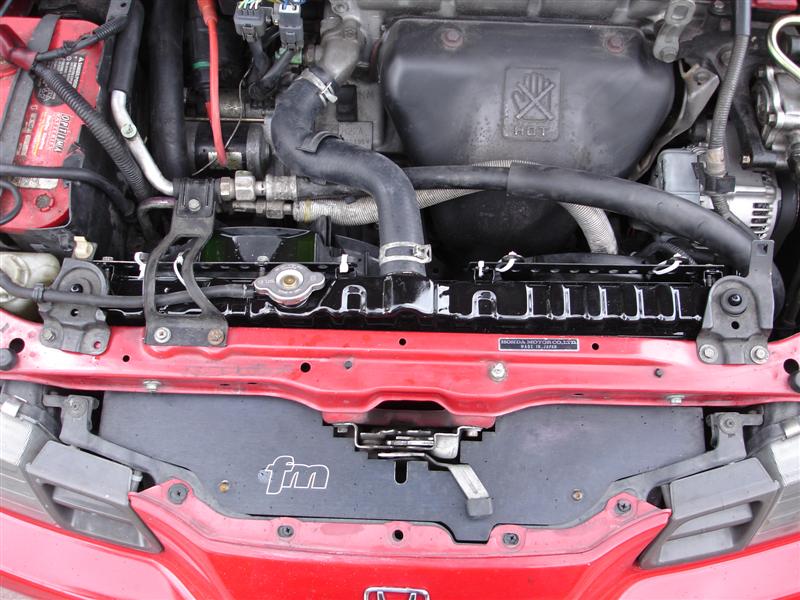
Well after installing the engine, I found out that the radiator for H22 equipped Preludes is thicker than the ones for the Si or S models. I purchased a new all-metal, 2-row radiator from Radiator World for $115 shipped. The radiator on the left is the old one and the one on the right is the new one. Its exactly twice as thick as the old one.
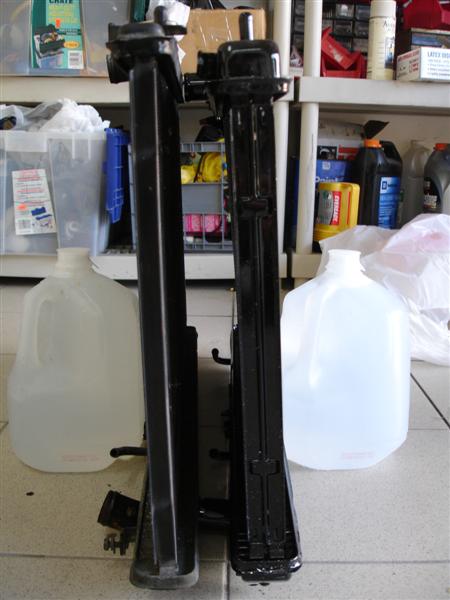
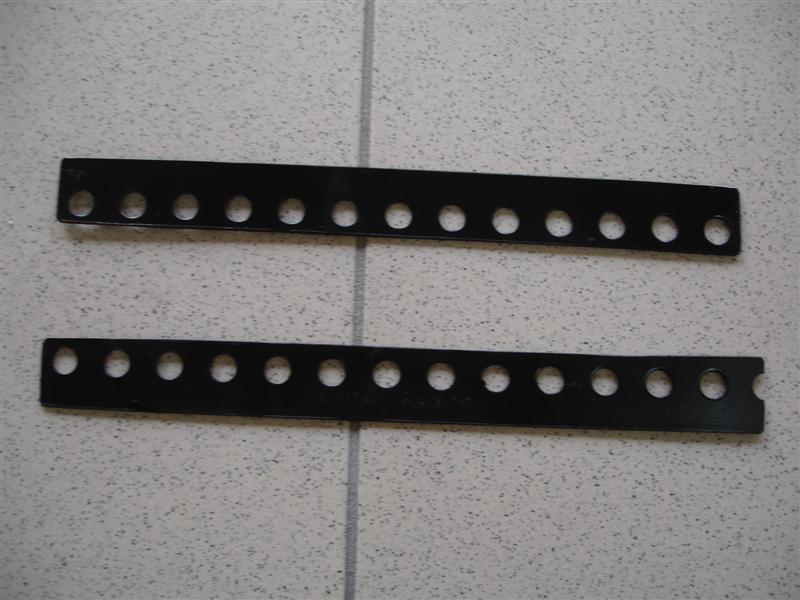
I knew the fan mounts were different between the old and new radiators, so I cut and painted some brackets using strips of pre-drilled metal so they could bridge the gap between the mounts.
As my luck would have it though, the new radiator was also slightly shorter, so the brackets on the fan shrouds weren't lining up with my brackets which meant that I couldn't just bolt the fans in place. Solution? I just zip tied the fans into place until I can find a set of used fan shrouds from an H22 radiator.
After installing the radiator, the main fan shroud was interferring with one of the top mount brackets, so I had to leave a bolt off it until I get new shrouds. If you can't afford the right fans or need to install the radiator right away, the H23 fans can be made to fit. It ain't pretty, but its functional.
|
|||||||||||||||||||||||||||||||||||||||